Exporting to Excel
An export to an Excel spreadsheet can be done “direct” or with the “Form data”:
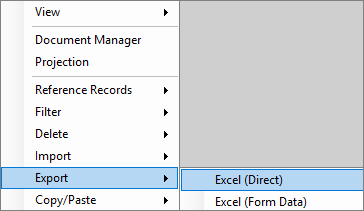
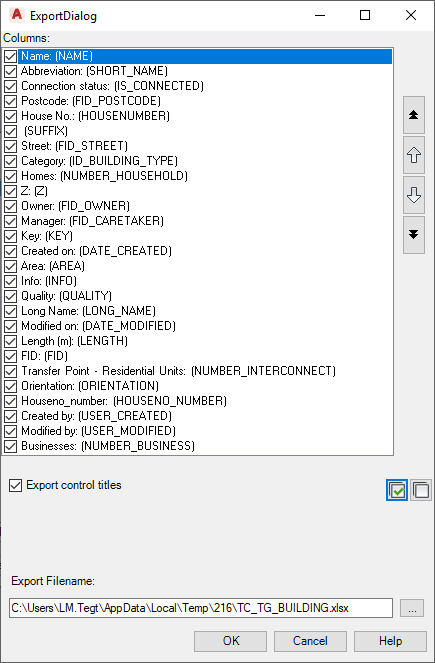
Export directly
With the “Export direct”, all controls/attributes present in the feature class can be exported.
 |
In the table, the columns are named in addition to the attribute name with the designation of the respective control. |
 |
Row 1: Control designation Row 2: Control/attribute Row 3/4: Example |
 |
All controls can be activated. |
 |
All controls can be deactivated. |
Export form data
With “Export form data”, all controls/attributes displayed in the form can be exported.
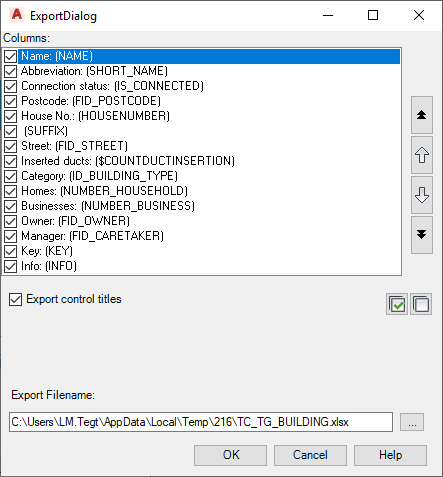
The exported data can then be edited and shared or re-imported.
Importing from Excel
The import on an Excel spreadsheet can be done as an import “direct” or as an “update”:
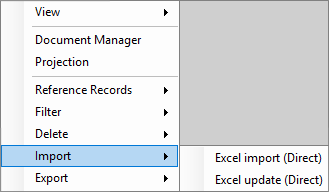
Excel import
The Excel import should be reserved for object classes with point geometry (e.g. buildings). Likewise, records can be imported for objects that do not have their own geometry (e.g. master data such as cabinet type, etc.).
With an Excel import, new data can be imported into a project. The names of the columns must correspond to the controls of the feature class into which the data is to be imported. This is easiest to understand if data was previously exported from this feature class.
If data is imported whose attributes are partially filled from other linked object classes, the name of the attribute data set is not expected there but its FID.
Example Excel import for buildings
If the street names do not yet exist in the project, create the street names in the first step via an Excel import or manually. Export the (created) entries with (street)name and FID_Street. In your building Excel, replace the street names with the FID_Street of the street.
Do the same for all other linked object classes.
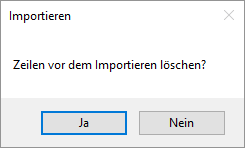
If records already exist in the feature class, the query appears as to whether the existing records should be deleted. When importing additional records, this question must be answered in the negative. If there were no records before and the same records are imported again and again for testing purposes, these may of course be deleted before a new import.
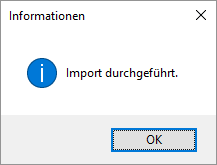
After the import, the following message will appear:
For the import with coordinates, the additional columns GEOM.X and GEOM.Y must be created in the import Excel.
If no coordinates are included in the data, a geometry must subsequently be assigned to the objects.
If these are feature classes that have both a line/point form and a detailed form, the import must be carried out in the respective line/point form. A query is then made as to which attribute feature is involved.
Note
When importing, make sure that the coordinate systems of the source file and the target project match. The Excel import does not perform any coordinate transformation.
Excel update
The Excel update is used for faster processing of many records and their re-import into the project. The FIDs of the records must remain unchanged so that the attributes can be assigned to the correct record. After editing the data in Excel, the records can be updated during import.
The following query will appear:
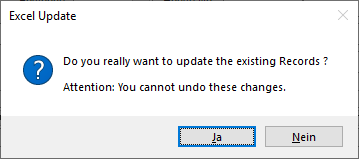
The update could still be canceled here with “No”.
If the update is confirmed with “Yes”, then the update is completed with this message: