Based on the imported demand points and street center lines, the available infrastructure and the specified layer points, the possible trenches that form the basis for planning are automatically generated in the preprocessing.
In detail, these are:
- possible trenches that are created according to the settings in the rule set
- drop trenches created as perpendiculars from demand points to possible trenches
- possible street crossings
- Transition between existing infrastructure and possible trenches
- Connection of structural points
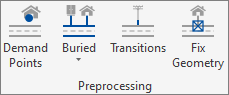
You can find all preprocessing steps in the NET Design tab in the “Preprocessing” panel.
Demand points
Depending on the data situation, the “demand points” preprocessing step generates demand points from “buildings” or from “home points”. Only demand points are included in the calculation.
The creation of demand points from home points is currently not supported in the standard.

Note
Existing data in the feature class “Demand point” is deleted when this workflow is started.
Underground
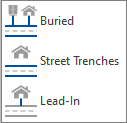
A drop-down menu under “Buried” makes individual preprocessing steps selectable. The last selected preprocessing step is visible in the menu bar. The “Buried” selection includes the street-trenches and lead-in preprocessing steps.
The following table describes the individual steps for underground preprocessing.
| 1. Underground |
Preprocessing steps 2–3 are all performed together. If possible, the preprocessing snaps existing ducts within a defined distance onto the trench network. |
| 2. Street trench |
Automatic creation of possible trenches according to the settings in the rule set. When “Sidewalks” is set in the rule set, the street width is defined by the “Width” attribute of the street center lines feature class. |
| 3. Drop trench | Drop trenches (e.g. buildings) to predetermined layer points and structures are created as perpendiculars to possible trenches. |
Note
Even demand points that are set to “not included” are given a drop trench.
Transitions

If the ducts are not within the set snapping distance, “Transitions” = transition trenches between existing duct infrastructure and the possible trenches are generated in this preprocessing step.
Fixing geometry

Clicking on the “Fix geometry” button checks the possible trenches and default ducts for any geometry problems and corrects them.
After starting the preprocessing, a dialog box displays the progress and any errors in the preprocessing. The log can be saved.
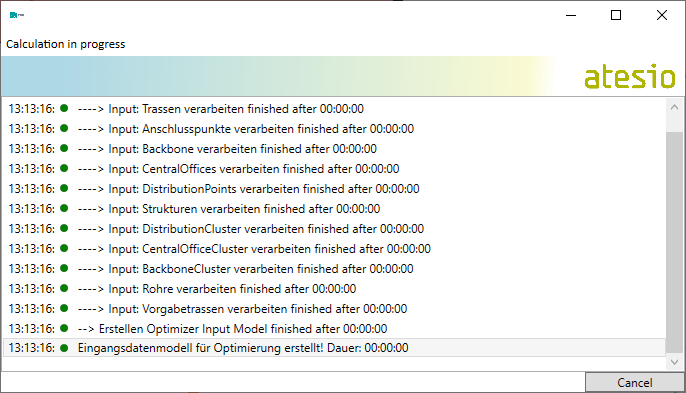
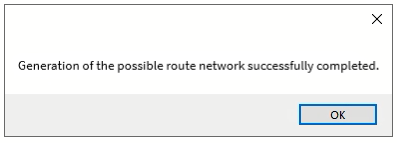
Confirm the dialog with OK.
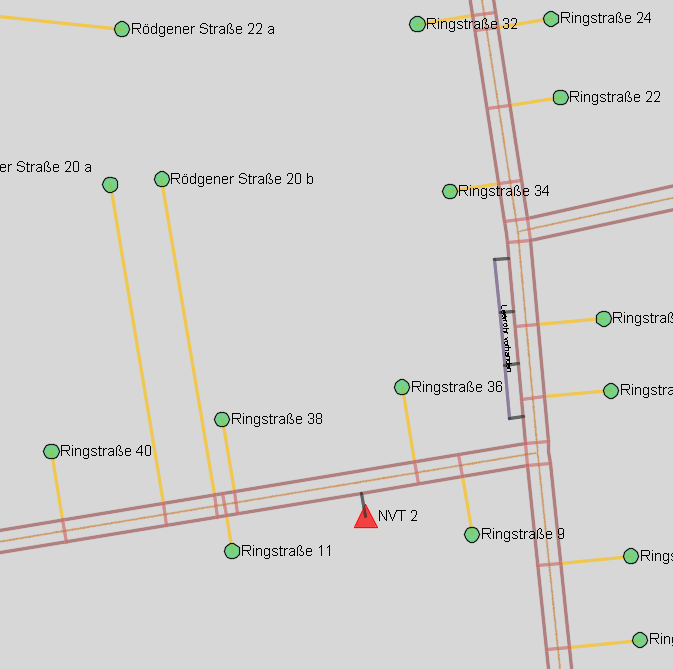
Result
The result of the preprocessing can look like this.